Note: before MC 1.21, armor textures are only visible for players who installed the
Optifine mod.
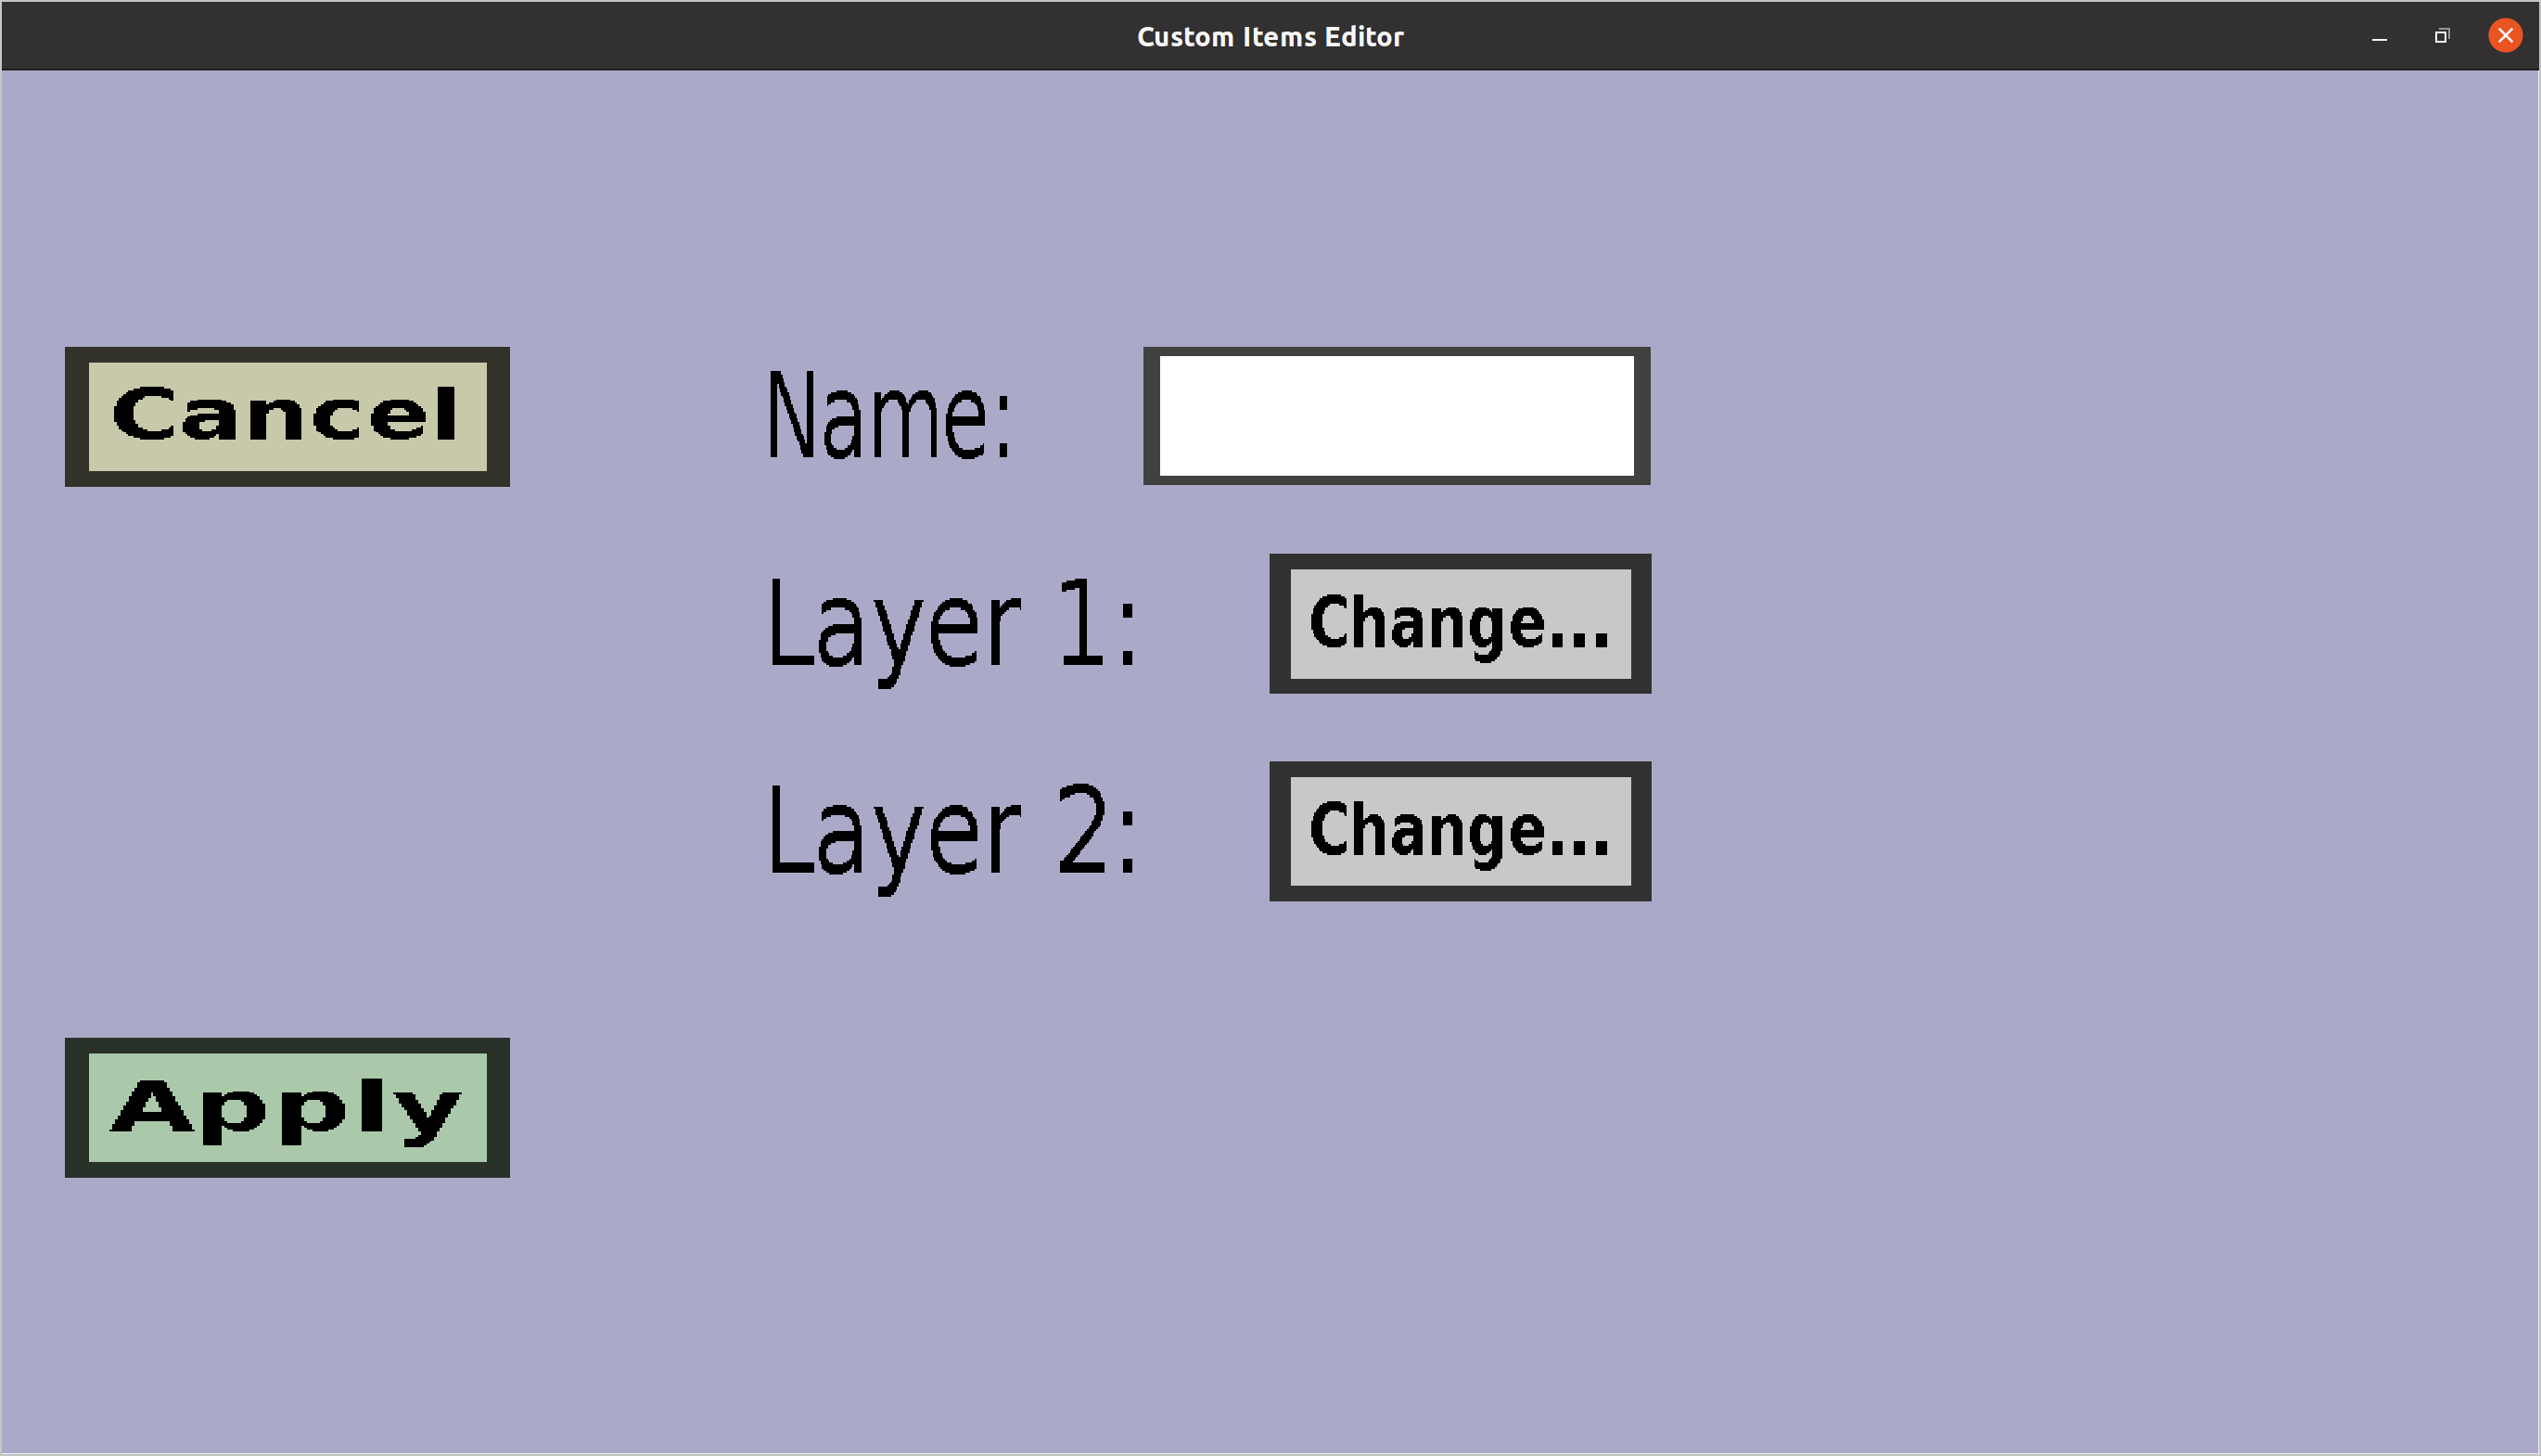
The armor texture edit menu can be used to create, edit, or copy
armor textures. If you just started creating a new armor texture,
it should look like this:

-
The 'Cancel' button will take you back to the
armor overview, without keeping
the changes you made or creating a new armor texture.
-
If you are editing an existing armor texture, clicking the 'Apply'
button will keep your changes and then take you back to the
armor overview. If you are
creating a new armor texture or copying and existing armor texture,
clicking the 'Apply' button will add this armor texture to the
item set and then take you back to the
armor overview.
-
The edit field on the right of 'Name' can be used to choose the name
of the armor texture. Every armor texture must have a distinct name.
Currently, the naming rules are very strict: only the English alphabet
('a' to 'z'), the digits '0' to '9', and the '_' are allowed as
characters. Note that players won't see this name anyway (unless they
take a deep look inside the resourcepack).
-
Click the 'Change...' button on the right of 'Layer 1:' to choose the
layer1 texture of the armor. This will take you to the file chooser
menu, where you can choose the right image. It must be a PNG file.
To give an impression of what such a texture should look like, the
texture for regular diamond armor is shown below:

You can download it by right-clicking it and choosing 'Save image as'
or something similar (the exact way depends on your browser).
-
Similarly, you can click the 'Change...' button on the right of
'Layer 2:' to choose the layer2 texture. To give an impression, the
layer2 of regular diamond armor is:


